 |
|
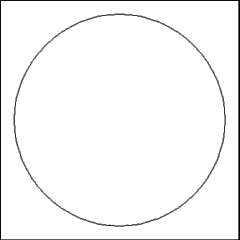
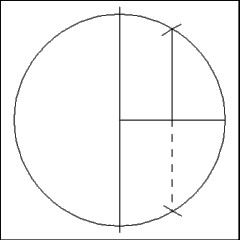
Begin by describing a circle. |
 |
|
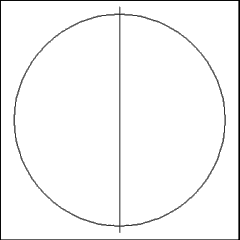
Produce a diameter of the circle. |
 |
|
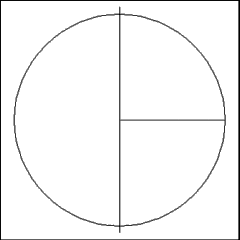
Produce a radius of the circle that is perpendicular to the drawn
diameter. |
 |
|
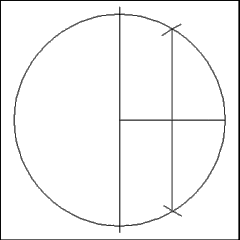
To continue: using the point where the radius strikes the
circumference of the circle as a center describe two arcs of a circle that
have a radius equal to the radius of the given circle. Try to do this in
such a way that one arc cuts the circle above the radius line recently produced
and the other cuts below it. Note that this perpendicular comes very close
to bisecting the radius, but in the reality of the paper world, actually
does not (so no short-cuts for you!) |
 |
|
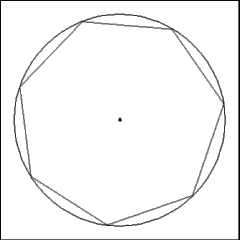
Produce a right line from either one of the cuts points on the
circle circumference that is perpendicular to the radius. Use the length
of that perpendicular to mark points of division around the circumference
of the circle. |
 |
|
Connect the marked points around the circumference to produce
the seven sides of the heptagon. Remember that the last side produced (that
is, the one joining the first mark and last mark on the circumference) will
be a tad longer than the rest.
This completes the heptagon. It may be best to erase all the
construction lines and marks that have been produced thus far, things are
about to get very messy... |
 |
|
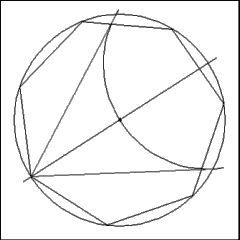
Using the circle and the vertices of the heptagon, go around the
figure constructing 60 degree angles. Begin this operation by producing a
diameter of the circle that passes through the vertex of one of the heptagon's
angles. |
 |
|
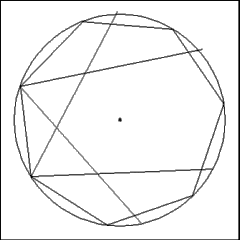
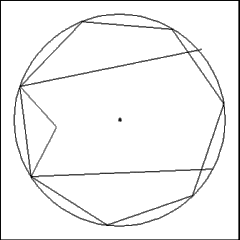
To further confuse matters, jump to the next angle of the
heptagon and construct a second 60 degree angle. The result looks very much
like the illustration to the left, lots of lines, little sense. |
 |
|
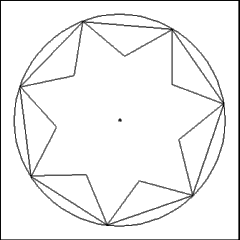
Things come clear once one understands how and where to use an
eraser. The two lines that come out of the two vertices and intersect between
the two angles form two sides of the seven salient star. Erase the far side
of those lines to reveal the two faces of the star and the re-entering angle
between the two angles of the star.
Be careful not to erase any other lines until you've finished
using them to produce the faces of the star. For instance, the two lines
produced by the two 60 degree angles that do not intersect with each other
must be left where they are until the next angle over gets the 60 degree
angle treatment and another leg from another angle intersects them. |
 |
|
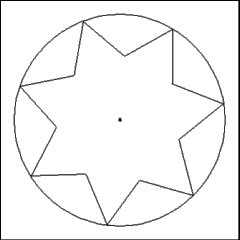
After suffering through the tedium of performing the seven 60
degree angle operations necessary to produce the 14 faces of the seven salient
star, the thing should bear some resemblance to the illustration to the left. |
 |
|
All of the extraneous construction lines and marks can now be
erased to clarify the outline of the seven salient star. |
|
|
|